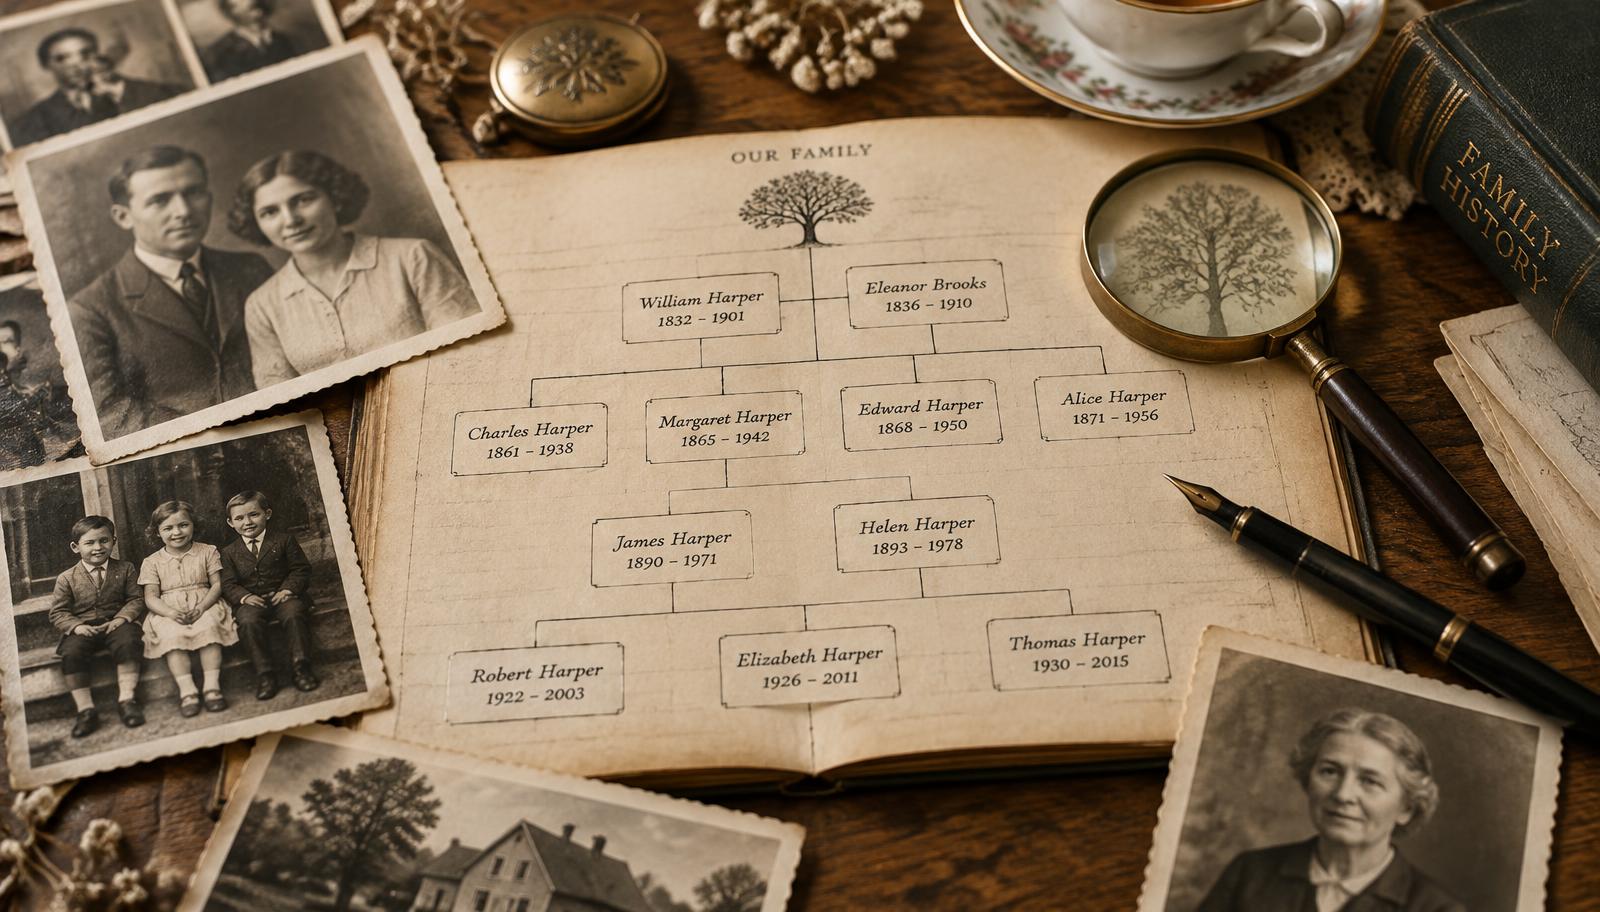
A family tree is usually a table of names and dates. A great-grandfather''s name in a box tells nobody much - children least of all. An animated photo changes that: one still portrait becomes a short video where the ancestor moves, blinks and turns their head slightly. This guide covers how to prepare those portraits for a whole tree.
Why it works in genealogy
Genealogy runs on documents. They are precise, but cold. A short video next to each person in the tree turns the chart into something grandchildren actually open. The most common uses:
- grandparents and great-grandparents with only one surviving portrait
- wedding photos that have hung in the family for decades
- school and military portraits, where the face is large and sharp
- a presentation at a family reunion or a funeral
Step 1: pick one photo per person
Not the prettiest one, but the one with the sharpest face turned towards the camera. Animation works from facial points, so a profile, half-closed eyes or a deep shadow across half the face will drag the result down.
- the face fills a reasonable part of the frame, not a dot in a wedding crowd
- the eyes are visible, not lost in shadow or hidden behind glasses glare
- for group shots, crop one person and upload only that crop
Step 2: make a good digital copy
This step decides half the result, and most people rush it with a phone shot through album film.
- 1Take the print out of the album if that is safe to do. Film reflects light.
- 2Scan at 600 dpi; a basic home scanner is enough.
- 3With no scanner, shoot straight down with a phone in soft light, no flash.
- 4Black-and-white prints are colourised automatically, at no extra cost. Photos that are already in colour are left alone.
Step 3: work generation by generation
Do not try to finish the whole tree in one evening. Start with the closest ancestors and move back - newer photos give better material, and you quickly learn what works in your collection.
After each video, note the person''s name, years and the source of the photo. After ten clips nobody remembers who is who.
Step 4: connect the videos to the tree
Every finished video comes with a short link and a QR code. Those are the two most practical routes into a family tree:
- Printed tree: print the QR code next to the name. Anyone who scans it sees the ancestor move.
- Digital tree: paste the link into the person''s notes on Ancestry, MyHeritage, Geni or your own spreadsheet.
- Family archive: download the MP4 files and keep them beside the scans, so they stay in the family in twenty years too.
What to expect
The animation handles facial movement, blinking and a slight head turn. It does not invent how someone really walked or spoke. With very small, distant faces in large groups the model fills in detail and can distort features - which is why a closer portrait is always worth finding.
Each downloaded video is paid for once, with no account and no subscription. For a family tree that means you can spread the work over months and pay only for the ancestors whose result you actually want.